
 Jump to Recipe
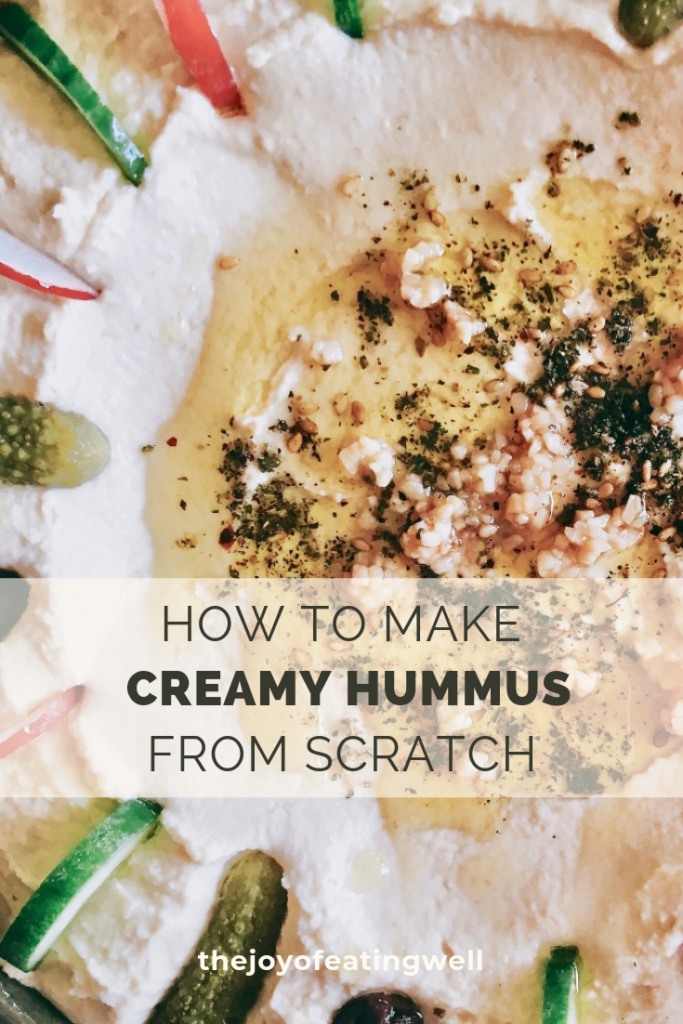
If you’ve ever been frustrated by gritty store-bought hummus, today is your lucky day because we’re going to learn how to make hummus from scratch. And not just any old hummus, we are going to make CREAMY hummus from scratch. Pull up a chair and let’s get started!
Have you ever wondered why store-bought hummus is so gritty?
Technically, there could be several reasons beyond just a quick examination of the listed – and sometimes mysterious– ingredients. Most often it is gritty for two reasons: (1) the chickpeas (otherwise known as garbanzo beans) haven’t gone through the food processor long enough and/or (2) the outer skins of the chickpeas were left on instead of getting removed.
What is the secret to creaminess?
There are three things that you absolutely MUST DO in order to have a creamy, creamy, creamy bowl of hummus.
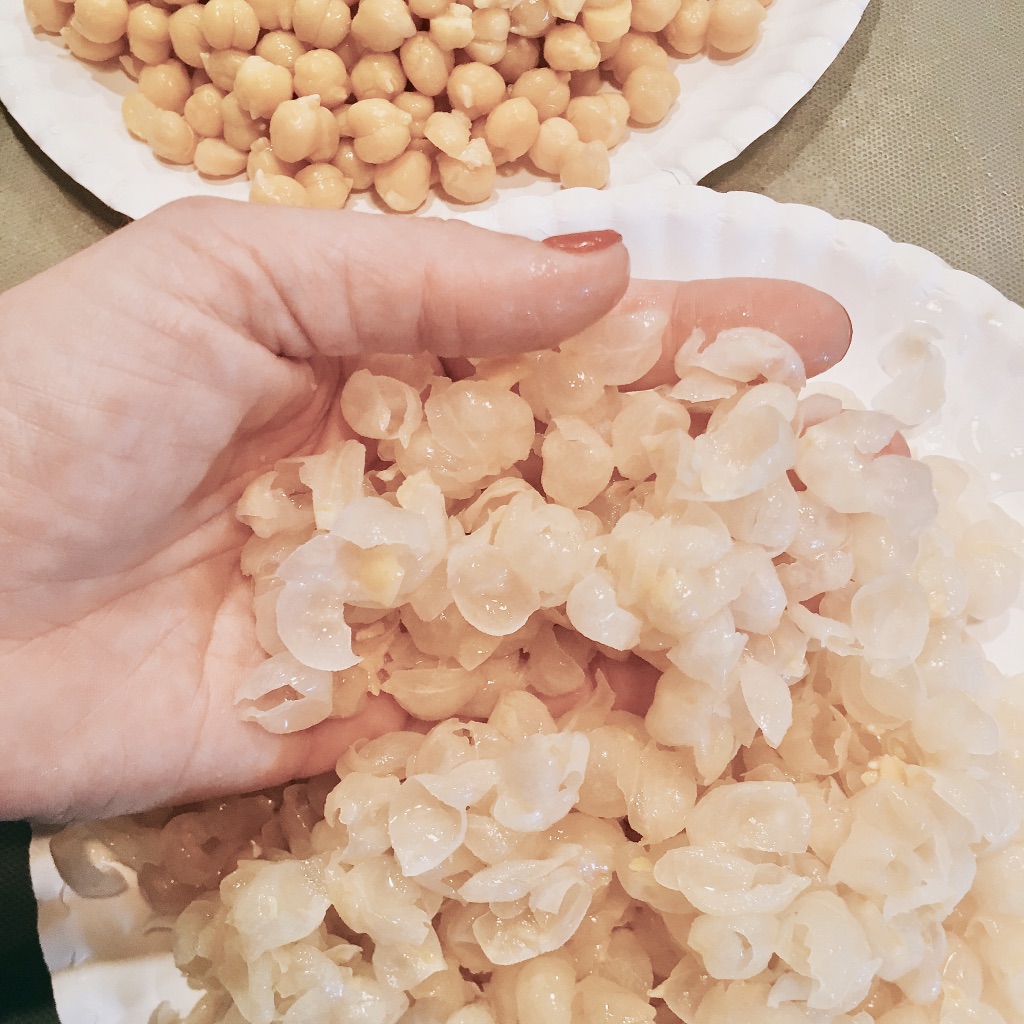
- Remove the outer skin of the chickpea/garbanzo bean.
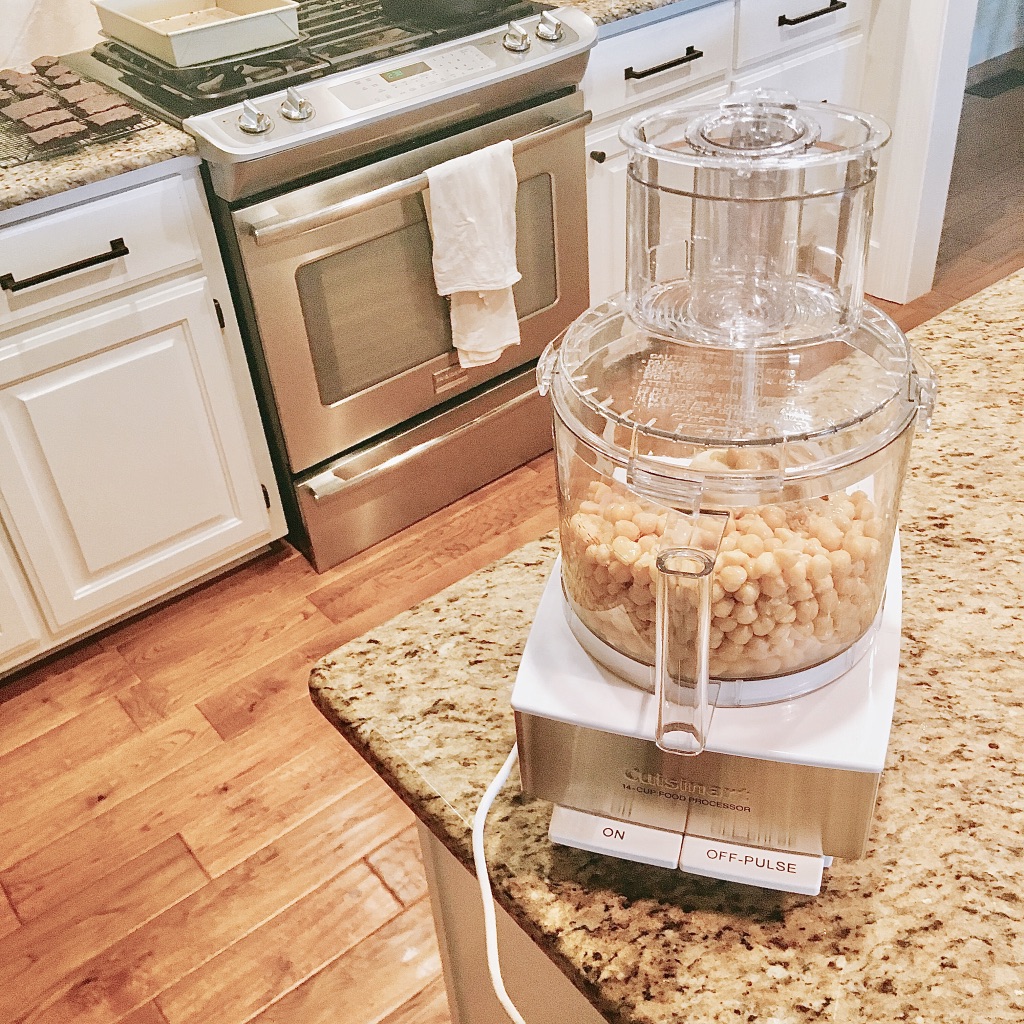
- Keep that ON button pressed.
- Utilize the gelatinous cooking water to add structure and creaminess.
How to remove the outer skin of chickpeas.
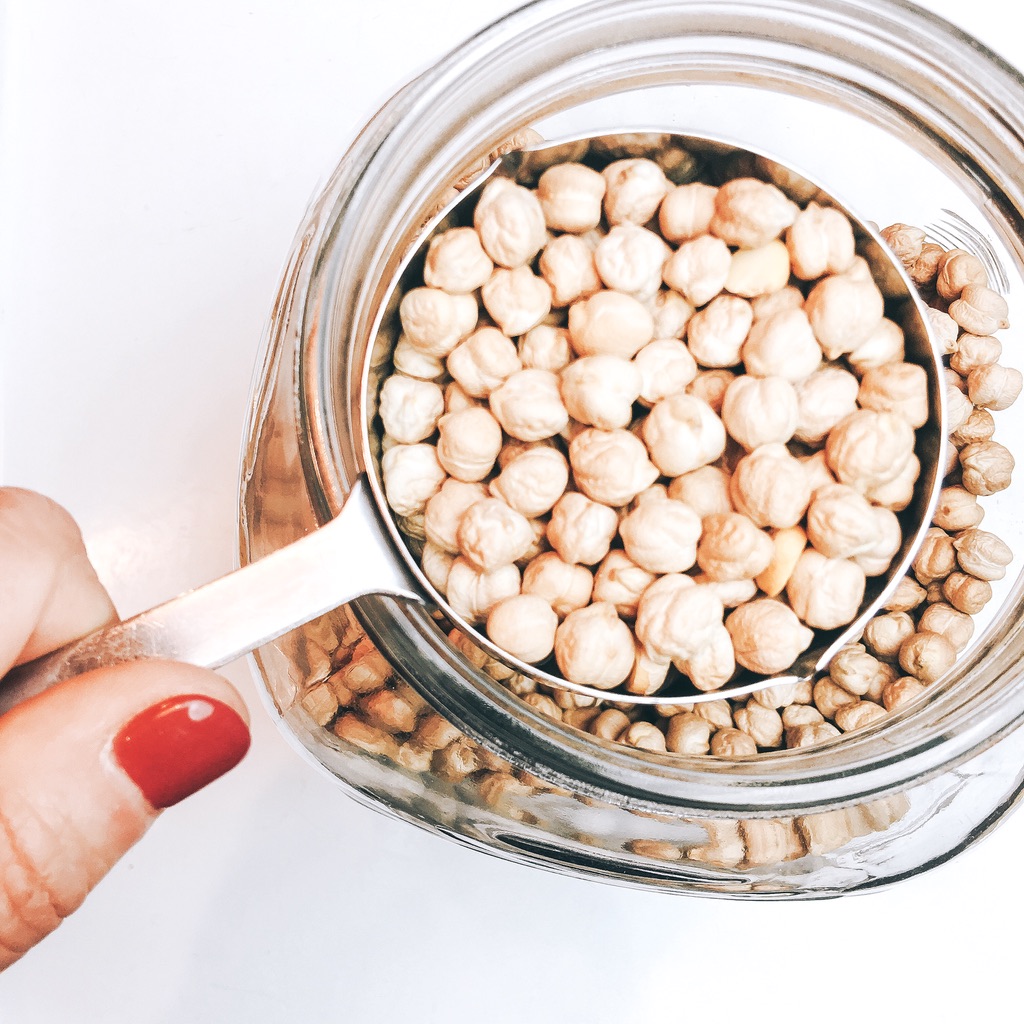
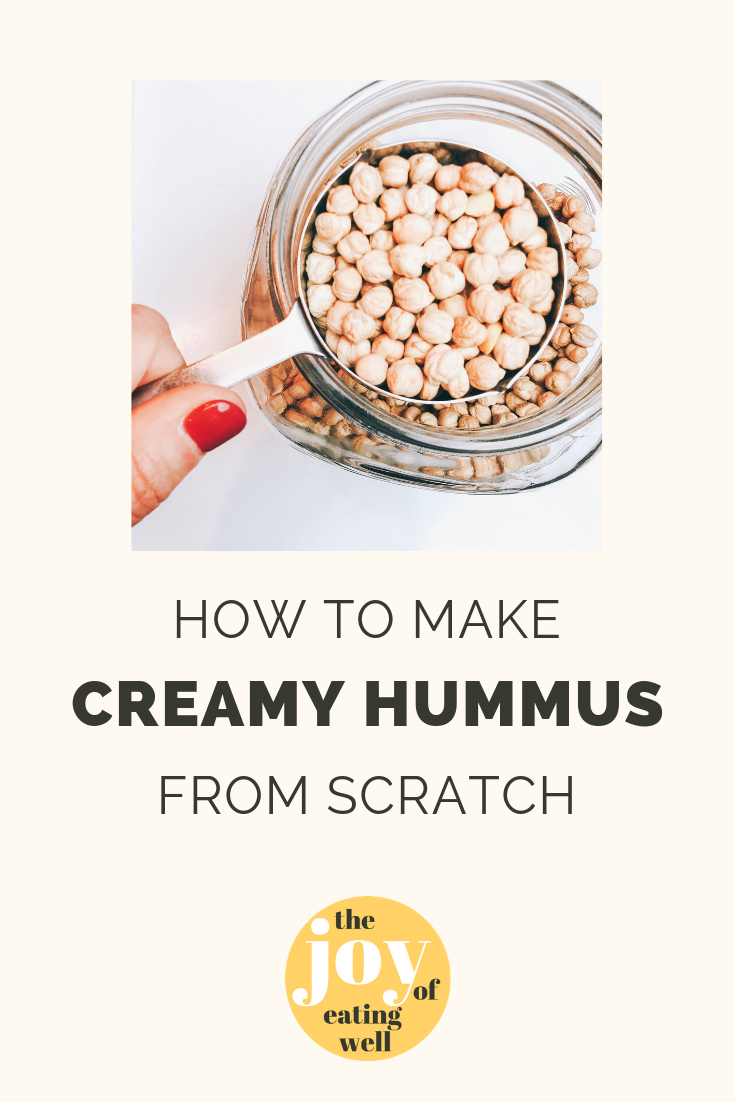
I’ve played around with this and also asked my friends what they do. Therefore, I need to give a quick shout-out to my dear friend Astrid, who is a professional Chef from Chile. I was lamenting to her about how long it takes me to remove the skins from the chickpeas after pressure-cooking. She quickly told me to soak the dried chickpeas overnight before pressure-cooking and the skins will come right off. To be honest, I was skeptical since the whole reason for using the pressure-cooker is so that making hummus is quick and easy and eliminates the need to soak the beans overnight. Regardless, I tested her suggestion and it makes a night-and-day difference! So, letting the dried chickpeas soak for a good eight hours before pressure-cooking is a must!
If you’re using chickpeas or garbanzo beans straight from a can, you can eliminate the eight-hour soak. Essentially, your beans are ready to go and just need a quick rinse. HOWEVER, you are going to fight with canned beans to get a creamy puree.
Keep that ON button pressed.
Another one of the secrets to a creamy hummus is to keep that ON button pressed on your food processor. So many recipes have you pureeing for a short amount of time when really, you should double or even triple the time. Don’t worry, you won’t break down hummus structure because you’ll be taste-testing it and adding more of that gelatinous cooking water to add depth and creaminess.
Utilize the gelatinous cooking water to add structure and creaminess.
Using dried chickpeas is provides you with enough gelatinous cooking water that will add the right amount of structure and creaminess that canned beans are unable to provide. If you process your hummus while the cooking water is still warm, you may not notice the thickness. But trust me. Put it in the fridge and cool it down and you’ll see what I am talking about! Oh, and there’s another added benefit to dried chickpeas… they are less expensive than canned. Like, ridiculously so!
How do I serve hummus and what do I serve with it?
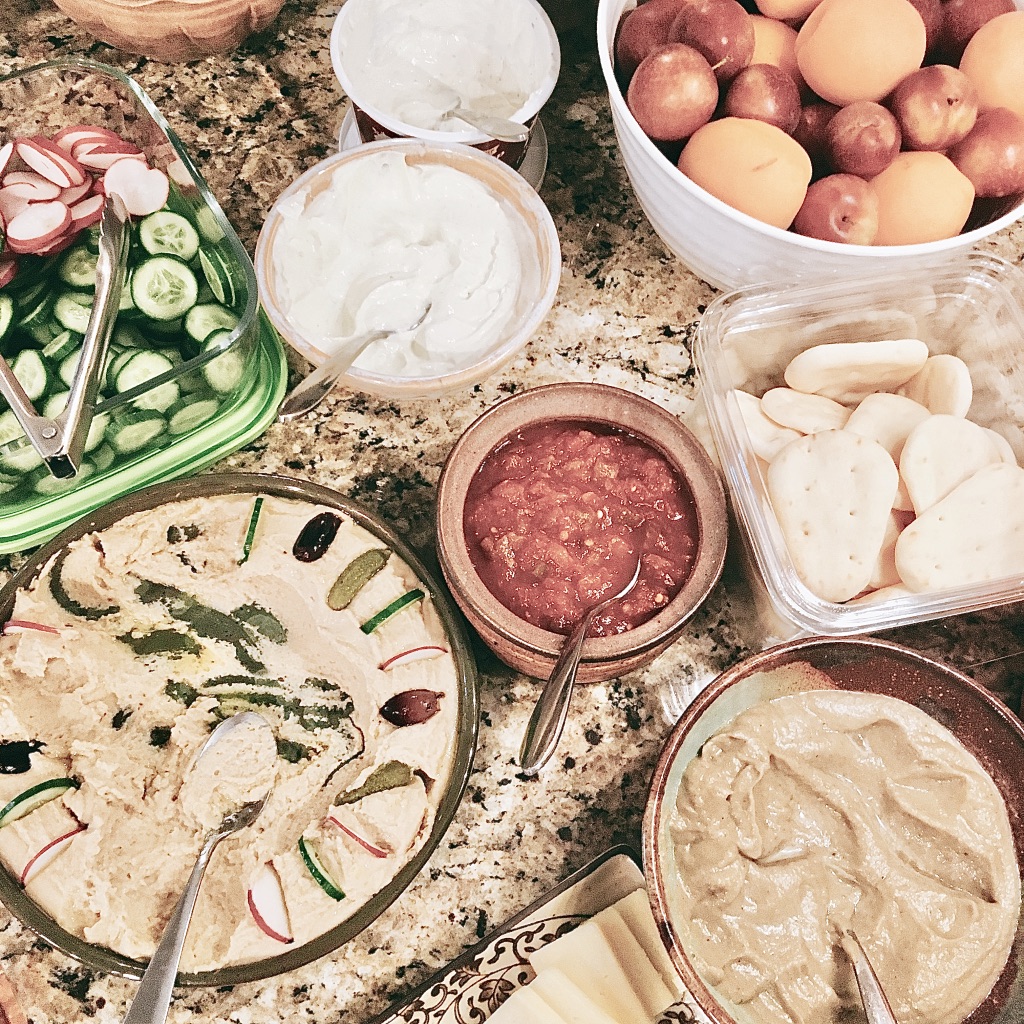
Great question! Basically, hummus is a dip and goes with just about anything you would use a dip for such as chips, vegetables, or as a spread. I like to add a scoop to my breakfast plate along with sliced cucumbers and a drizzle of olive oil. You know, to start my day right!
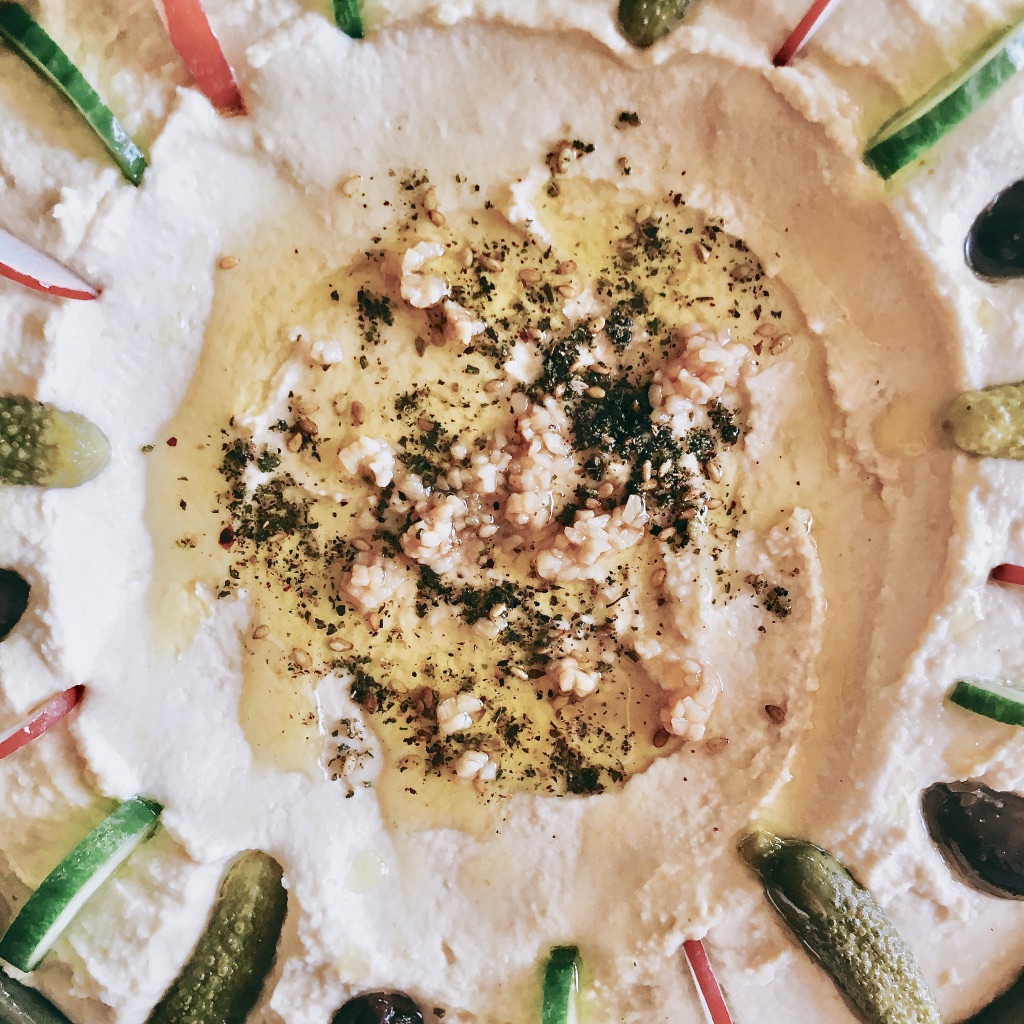
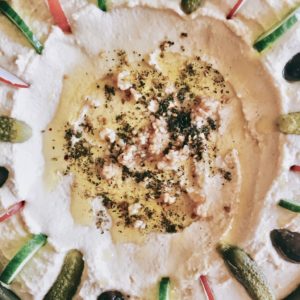
About a month and a half ago, Dennis and I went on a trip to Israel and hummus was EVERYWHERE. And by everywhere, I truly mean EVERYWHERE. There were two things that I noticed in Israel and Palestine that were common in the way they serve hummus: (1) it was served sprinkle with za’atar seasoning and (2) the rim of the hummus platter was “decorated” with alternating slices of cucumbers, radishes, and pickles. It makes for a beautiful and practical presentation, so this is how I serve my hummus when entertaining.
Hummus can be made with a plethora of ingredients beyond chickpeas or garbanzo beans. Do you have a favorite way to make (or eat!) hummus?
Happy hummus’ing.
Eat well, my friends.
Lyndi
Creamy hummus from scratch.
Equipment
- Pressure cooker, Instant Pot
Ingredients
- 1.5 cups dried chickpeas
- 10 cups water
- 1/2 cup organic tahini
- 1 tbsp lemon juice
- 1/2 tbsp garlic powder
- 1/2 tbsp onion powder
- 1 tsp sea salt
- 2 cloves garlic, minced
- 2 tbsp olive oil extra virgin
Instructions
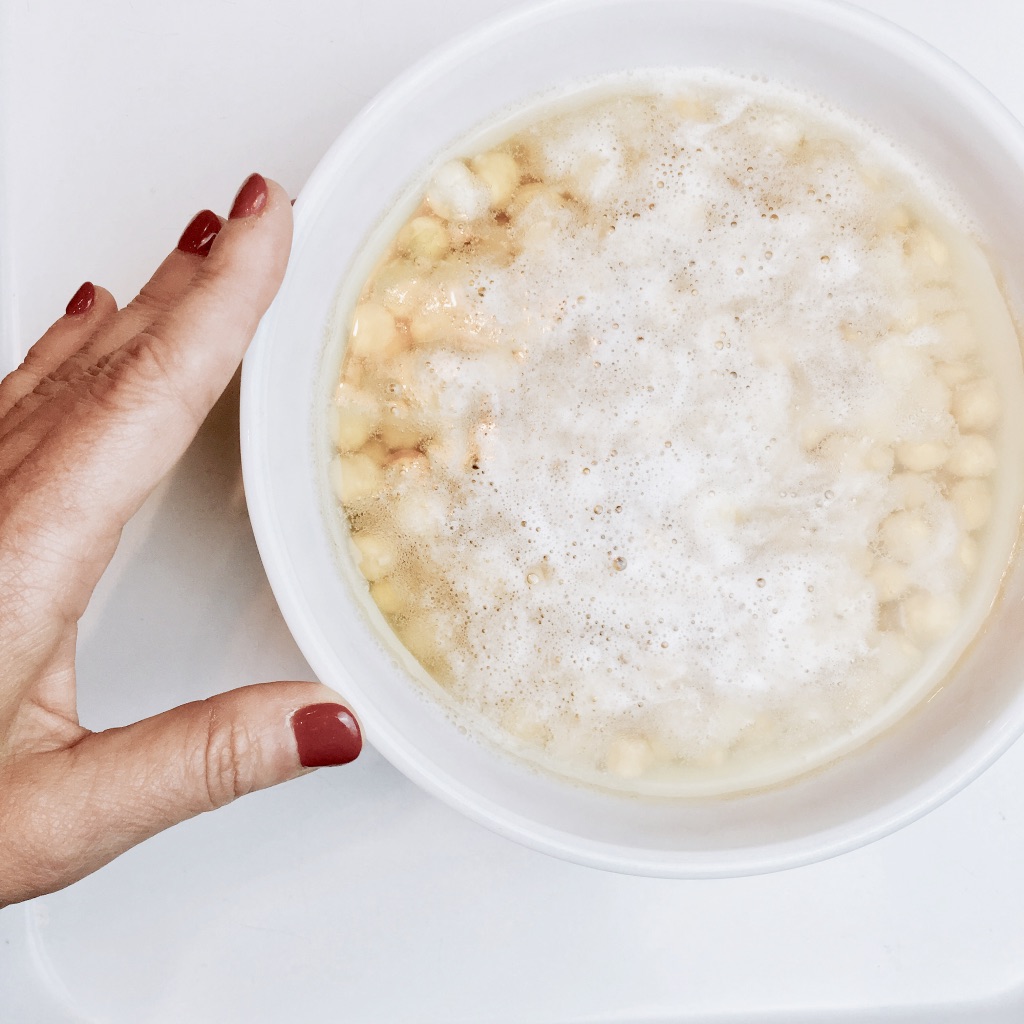
- In a medium-sized bowl, add 5 cups of water and chickpeas. Cover with plastic wrap and let soak for 8-hours.
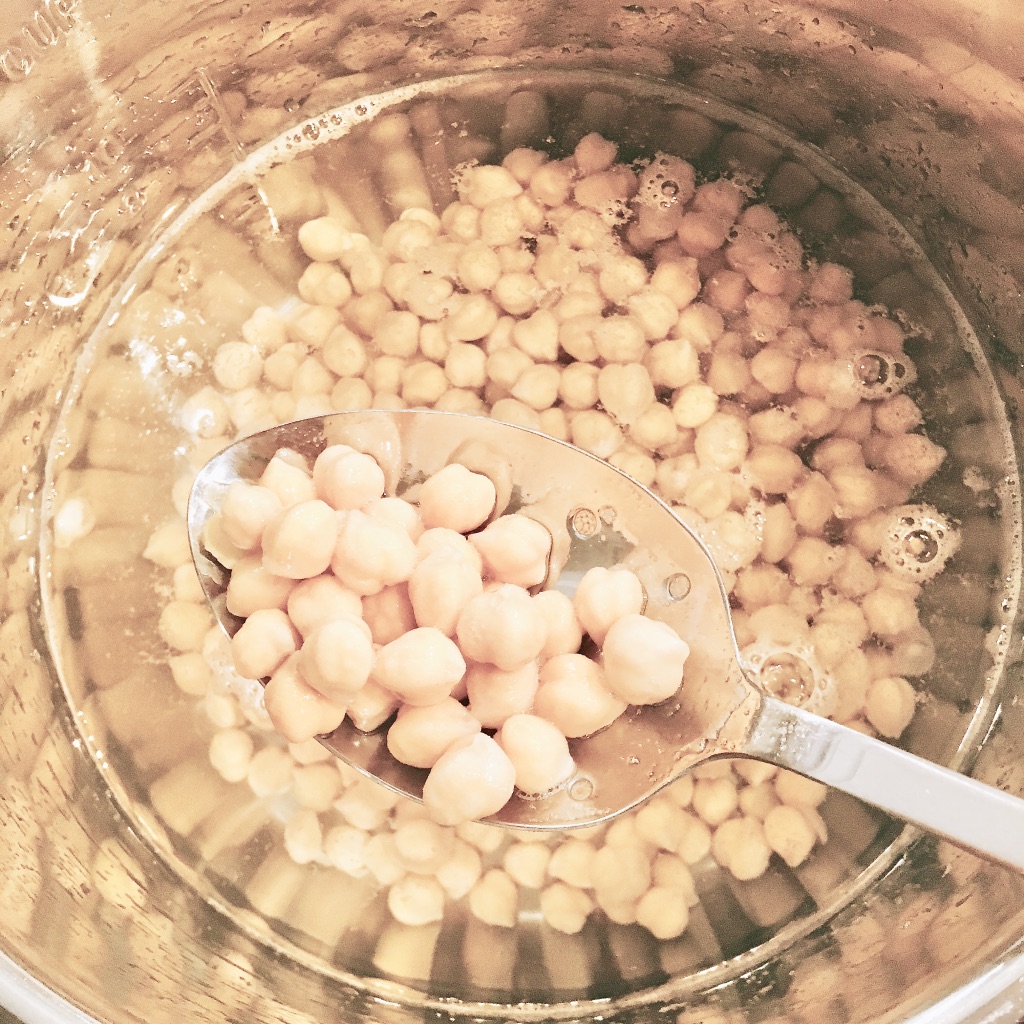
- Add 5 cups of water to pressure-cooker and add drained chickpeas. Select Manual cooking function and high-pressure cook for 35 minutes. Let steam release naturally, or if in a hurry, release steam.
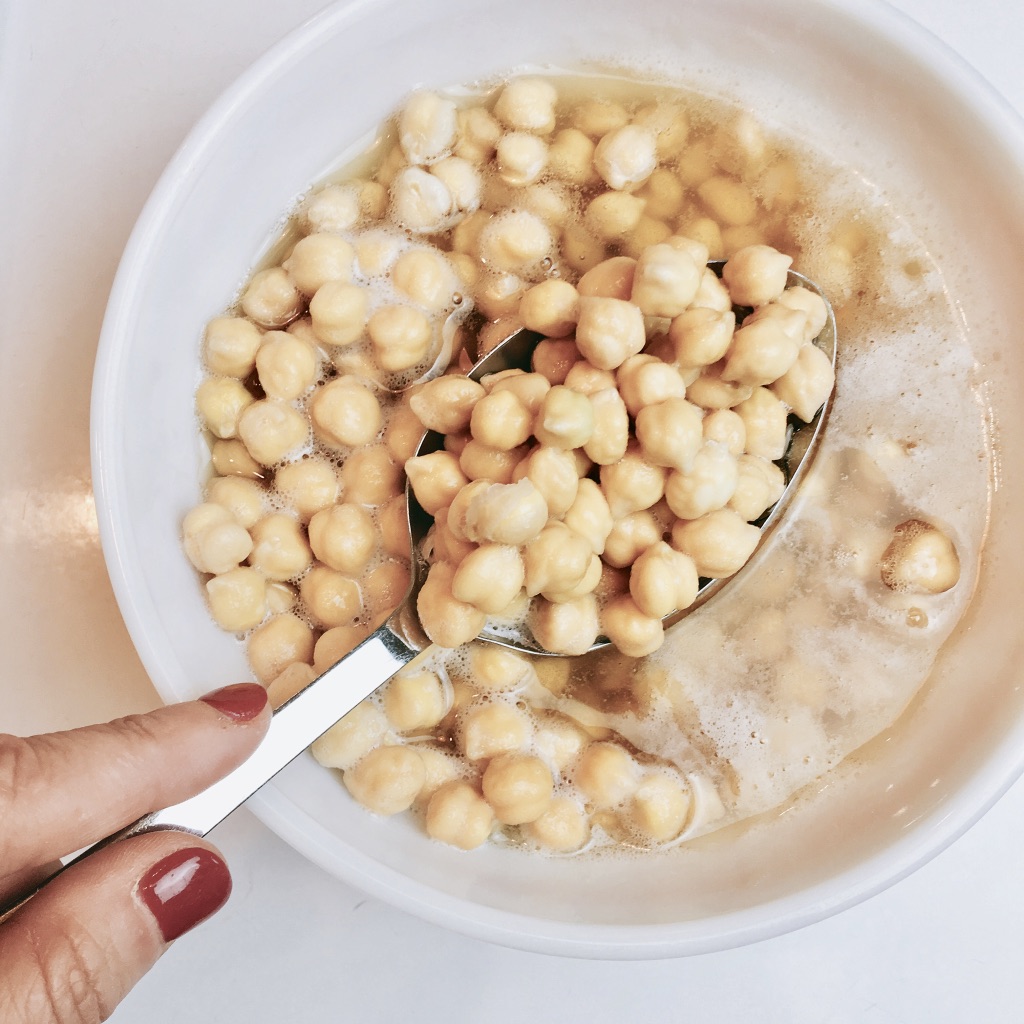
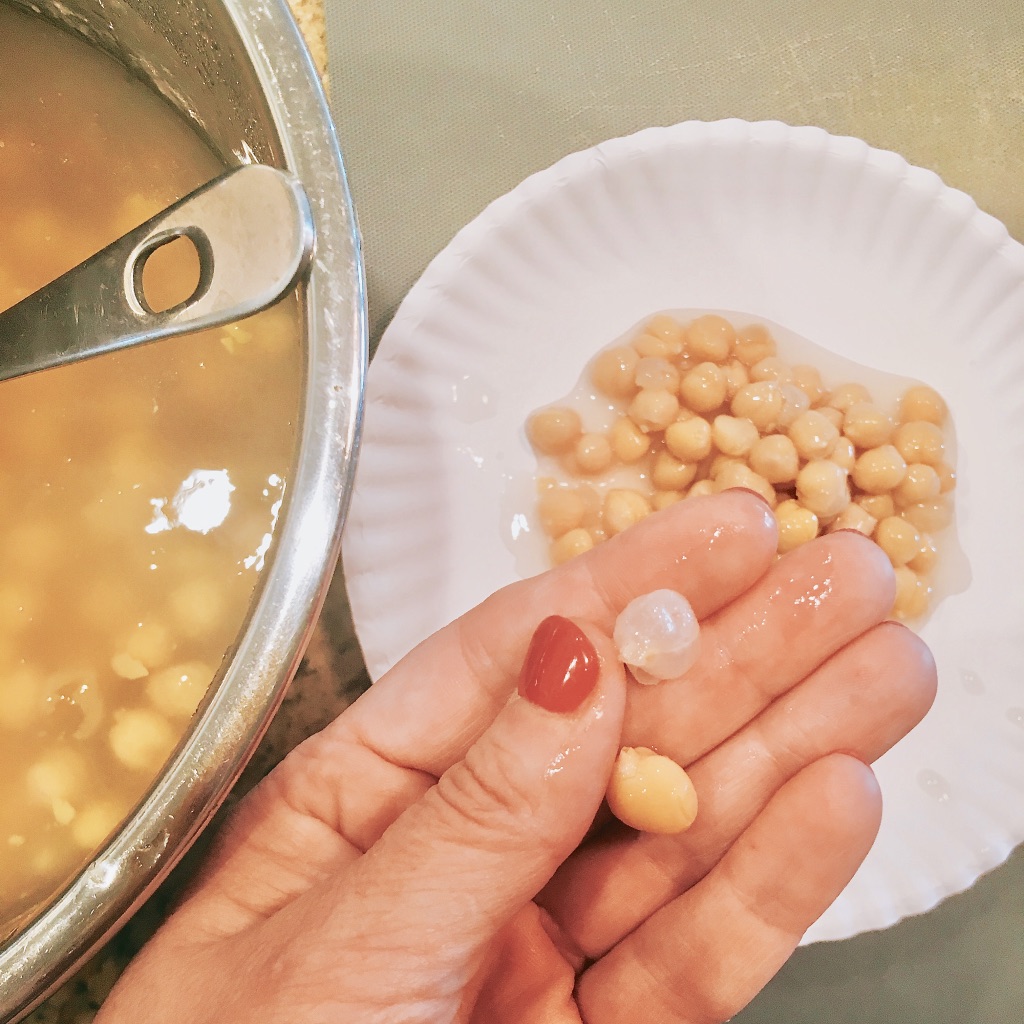
- Remove cooked chickpeas from pressure-cooker, using a slotted spoon and set aside. On a large cutting board, remove skins and set aside. I recommend having 2 paper plates, one for skins and one for chickpeas with the skin removed.
- In food processor, add all of the ingredients and ½ cup of the chickpea cooking water. Pulse for 10 pulses and then turn button to ON and let run for 2 minutes. Check thickness and add additional cooking water (liberally) to desired creaminess. Add additional salt to your desired liking, if needed.
Notes


Comments